
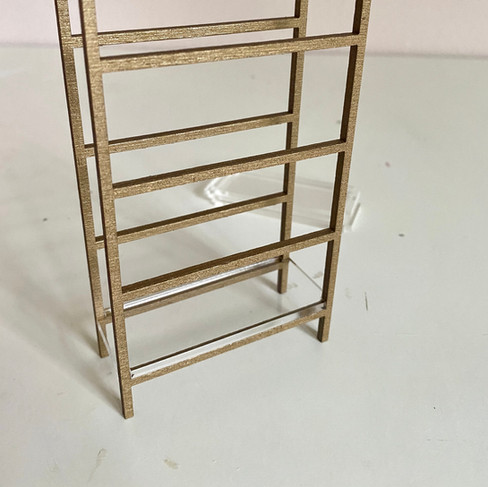
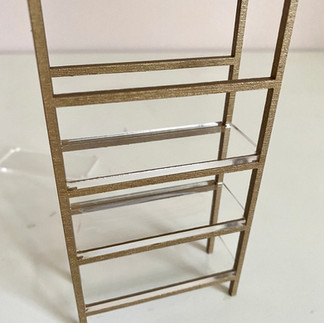
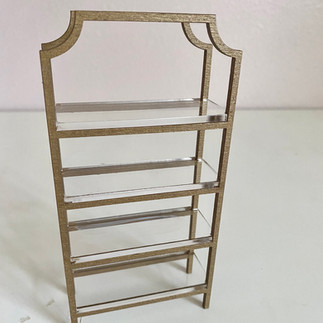
You can't go wrong with classic shelves to display your dollhouse treasures, and I love the modern take with the gold and glass of these shelves. I have the real life version of these exact shelves in Baylor's room and it looks great. It looks great in just about any room, and don't worry about the "glass" cutting your little one; it's just clear acrylic. You can customize it any way you want it to match the rest of your dollhouse. To purchase this DIY Kit, please click here. You can also order the assembled version from the same link. Let's get started with assembly.

Your kit includes everything you see in the above picture.
-2 frames
-4 shelves
You will need to supply the following items:
-super glue
-220 grit sandpaper (optional)
-spray paint/stains in colors of your choice
If you plan to stain or leave the frame unfinished, use a fine grit sandpaper to gently sand away the burn marks on each piece. If you plan to spray paint the frame, prop it up on something like plastic cups (first picture). Apply 2-3 light, even coats of spray paint (second picture). If you're using a really light color like white, I recommend using a primer first; otherwise, the burn marks will seep through the spray paint over time. You don't need to worry about that with darker colors like gold. Allow the spray paint to dry completely before continuing.

Before assembling the shelves, remove the protective tape from both sides of each shelf.
For this project, you need to use a glue that bonds acrylic to wood. I prefer super glue because I use a bottle where I can make a very small amount come out at a time, and that works well here. Apply tiny drops of glue to each notched out corner of a long side (first picture). Lay one of the frame pieces flat on a level surface. Slide the first shelf onto the bottom of the frame so that the top of the shelf is resting on ledge of the frame (second picture). Check to make sure the shelf is perpendicular to the frame.
Apply drops of glue to the notched out corners on the other long side (first picture). Attach the other frame to the shelf (second picture). Make sure the frame is perpendicular to the shelf.
Stand the shelf upright and make sure everything is square before moving on (first picture). Apply small dots of glue to the frame on the inside edges of each corner (where the notched out corners of the shelf connects with the frame). Apply the glue to all corners before inserting the shelf (second picture).
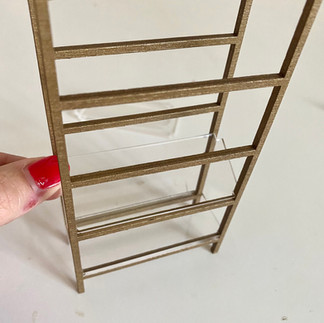
Carefully slide the second shelf inside the frame (first picture) and slide the shelf on to one side of the frame, making sure the notched out corners match the frame (second picture). Gently lower the other side of the shelf so it rests on the other side of the frame.
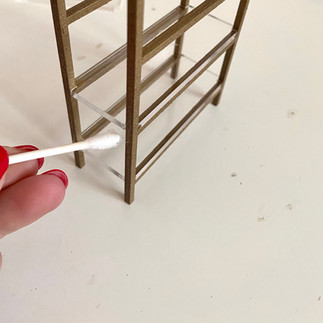
If you have too much glue residue, use a Q-tip to wipe off the excess (first picture). Try not to smear it on the shelves because the glue will leave a residue on the acrylic. Repeat this process for the third and fourth shelves. Allow the glue to dry completely before styling.

I cannot wait to see where you put these shelves and how you decorate them. Make sure to tag me on Instagram @mini.adventures.co to show me how you decorated your shelves.










Comments