We All Scream for Ice Cream Adventure: June 2022 Subscription Box
- Jackie Anderson
- Jun 7, 2022
- 3 min read
Updated: Mar 8, 2023

I am so very excited about the first ever Mini Adventures Co. subscription box! I think this is such a fun way to add unique items to your dollhouse while encouraging creative play. Each box contains exclusive items you cannot buy any other way, and this first one is adorable!

Last summer, I made an ice cream shop travel dollhouse, and I just loved how interactive the play-doh ice cream was. Since the first subscription box was going to be the June box, I wanted to create a fun summertime activity, and what better than an ice cream shop.

Your box includes a DIY Kit for the ice cream shop (we'll get to the tutorial in just a minute) and a bag with the accessories (container of play-doh ice cream, flavors sign, sundae cup, jar of sprinkles, and spoon).

I have several items in my shop that would pair perfectly with this particular subscription box, including the Terrazzo Table, Bistro Chairs, Sundae Cups (if you want extra), and Bowls. It sets up to be the cutest scene!

One of the things I love about this subscription box is that you don't even need to have a dollhouse: the ice cream shop can be completely separate. If you wanted your child to bring it with him or her on summer vacations, you could purchase a Travel Dollhouse suitcase. Let's get started on the super easy DIY Kit assembly.

Your DIY Kit comes with all the materials you see above:
-front and back panels (the back panel is slightly taller than the front to give it that traditional sloped look)
-2 side pieces
-acrylic countertop
-2 cross supports
-felt awning
-frame with cardstock sign
Other items you will need to complete the assembly:
-craft glue that works on wood and felt
-super glue (regular craft glue won't work on acrylic)
-sandpaper
-paint or stain (optional)
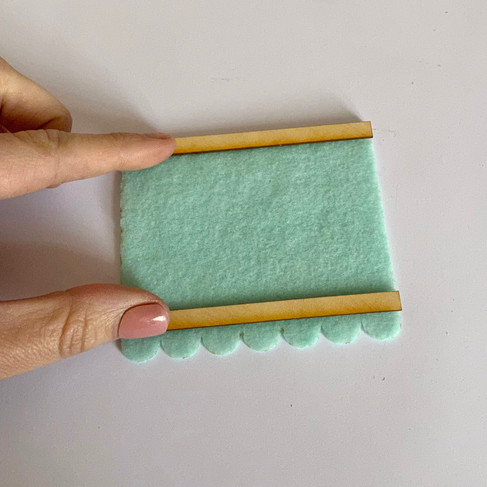
This step will take the longest for the glue to dry so I recommend doing it first. Apply glue (it has to work on felt) to the backs of the cross supports. Place one cross support along the flat edge of the felt awning. Place the other cross support just above the scallops (see second picture). Lay a book on top while the glue is drying. Allow the glue to dry completely.
If you don't care for the burned look of the wood (the laser cutter does that), you can start by lightly sanding the wood pieces. If you plan to stain the ice cream shop, you'll also need to sand the wood. If you plan to paint, I would paint the wood pieces before assembly, and a coat of primer would help cover the burned marks so they don't bleed through the paint. Peel the protective tape from the front and back of the countertop.
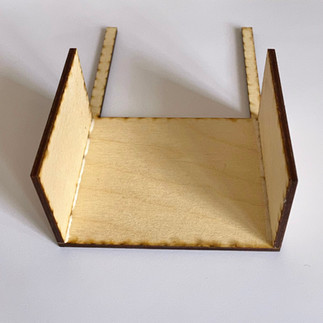
Apply a thin line of glue to the edge of a side panel (first picture). Attach the side panel to the back panel (second picture). Repeat for the other side panel (third picture).
Apply lines of glue to the edges of the side panels and attach the front panel. Allow the glue to dry for several minutes before going to the next step.
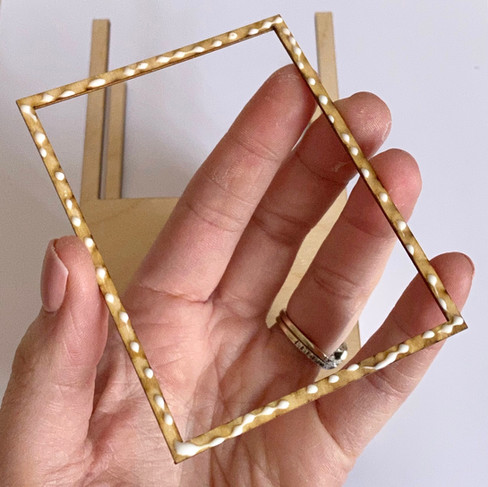
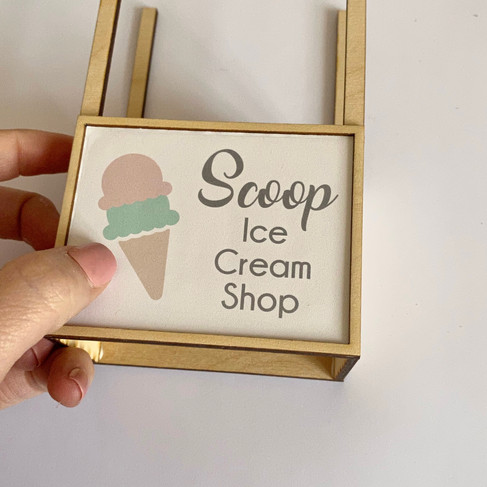
Apply glue to the back of the frame and attach it to the front panel. Allow the glue to set for a few minutes before adding the sign.
Apply glue to the inside of the frame. I just used regular craft glue but a thin layer of Mod Podge would work much better here. Attach the cardstock sign.
Apply a line of super glue to the top edges of the panels (first picture). Slide the countertop over the front and back panels so the poles go through the holes of the countertop. Press into place and allow the glue to dry completely.
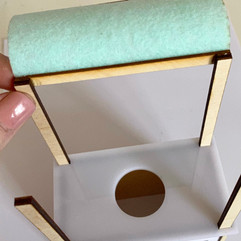
Once the glue is completely dry from the awning, apply dots of super glue (you want something fast drying so you don't have to hold everything in place) to the ends of the cross support that is glued to the flat end of the awning (first picture). Attach the cross support to the back of the taller panel (second picture). Hold in place for a few seconds while the glue sets. Apply dots of super glue to the ends of the other cross support (third picture). Attach this cross support to the front of the shorter panel (fourth picture). Hold in place for a few second while the glue sets.

Drop in the container of play doh that came in the other bag. Now you're ice cream shop is ready for business!

Be sure to share your subscription box adventures and tag me on Instagram @mini.adventures.co for a chance to win a store credit of $25. Happy playing!














Comments